
This was an easy DIY project that anyone can do.
I wanted to buy a new office chair but did not want to pay the full price for a new one. Everyone who knows me, knows that I love a good up-cycle challenge so I gave myself a task to try to find a good quality chair for free on Facebook marketplace. Don’t get me wrong, I believe in buying from new too if it is good quality, but recently I have noticed that people don’t care about recycling because they can get a new chair for as cheap as £20 at IKEA, so why would they? Re-purposing furniture has more value for me because of the environment aspects alone. If there is still life in an item, then why not give away for free so that creatives like me can re-purpose them?
Facebook market place is gold because there is so much you can get for free that are still of good value and can be re-purposed.


Tools you will need are:
- A heavy-duty staple gun for fabric and leather
- Screw drivers
- Allen key set.
- Fabric scissors
- Fabric of choice – 1.5m in length is fine.
- Pliers – for removing old staples
- Vinegar – to disinfect the chair
- Clean/new foam if you prefer. Check that the original one is still ok to use. Please spray with disinfectant spray before re-using again as you never know what comes with the chair.
Instructions:
- Firstly you will need to remove all the original fabric material and staples that hold the chair together. Screws need to be removed so that you can remove every thing carefully and clean.
- Secondly, you will need to air the foam and disinfect if you choose to use this option. If you can to use a new sponge foam, measure and cut out copying the shape of the original one as you go along. Try this by tracing with a washable sewing marker-pen first so you can clean you mistakes after.
- Thirdly, measure your material and cut with an overhang of 2 inches for tacking with the staple gun.
- Next, staple the spongy-back-rest of the chair first, then the back of the chair (this is the hard side of the chair). Try to be neat as possible as this is will exposed so detail counts.
- Lastly, staple for spongy-seat of the chair, then the underneath fabric.
- Finally the last thing will be to attach the wheel frame of the seat back onto the chair base using your screws and Allen key.
Finish off:
Finish off by polishing with vinegar or steel polish if you have any. Remember, the idea is to make this up-cycle project as cheap as possible.
Let me know if you like this post and found this helpful.
Related Posts
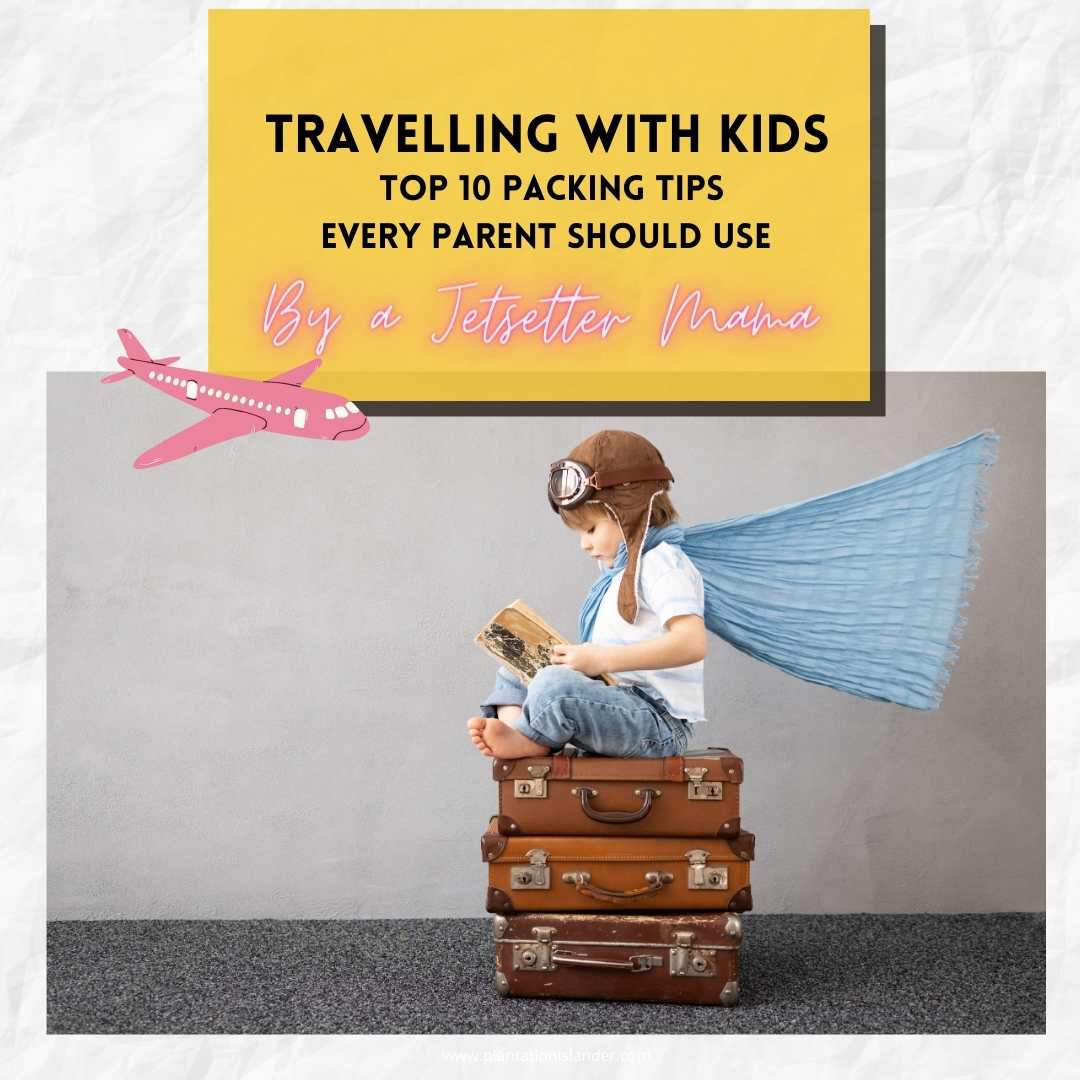
Travelling with kids – Top 10 Tips every parent should use.
From pre-flight to arrival, every parent should know. Learn the…

Top 5 Family-Friendly Destinations in the South Pacific.
Here are the top 5 family-friendly destinations in the South…

Top 10 Child-friendly Resorts in Fiji
Here are my Top 10 highly recommended resorts perfect for…